WordPress installation tutorial in Plesk (Plesk control panel)
Installing WordPress on Plesk may not be necessary in most cases, most people who want to use the control panel will prefer Cpanel to Plesk; Probably the main reason for this is its high compatibility, in contrast, Plesk also has its applications, which can be called strong Plesk support as the reason for the choice of some people!
Plesk is one of the popular control panels that has a very good compatibility with Windows server. By installing WordPress in Plesk, you will be able to have the necessary access to the WordPress service and you can have a better and better connection with your site and a more suitable compatibility. Next to the Windows server from your site with the benefit of the Plesk control panel.
Plesk control panel
In simple terms, Plesk is a business web hosting platform with a control panel that gives admins permissions such as setting up new accounts, vendor accounts, email accounts and DNS inputs with a web-based interface; Plesk is designed for web hosting providers based on Windows and Linux. It should also be noted that Plesk is also designed to install and manage web hosting systems and applications on a dedicated server.
You may be wondering why users use Plesk control panel in web hosting for their business ?? In addition to the advantages and attractive features of Plesk; Facilitating the installation of WordPress and CMS types with the Applications feature in Plesk has attracted the attention of novice users without specialization.
History of Plesk control panel
This control panel with advanced tools and Russian origin was introduced and known as Plesk in 2001, and then it was sold to SWsoft, and finally in 2015, Parallels bought it, so many called it Parallels Plesk Panel is known. During this period, many changes have been made to improve and user-friendly Plesk graphical interface, and the advantages of Plesk compared to C Panel can be supported by various Linux distributions and different versions of virtual servers. Windows noted that it provides a suitable platform for managing Linux and Windows hosts.
Referring to Windows or Linux Plesk hosts; For many of you, what these concepts are is a question, and the term is vague to you; When buying web hosting services in the package of providers, you usually see different types of control panel, which also plays an important role in choosing hosting services. Therefore, web hosting services with Plesk control panel; They say Plesk hosts.
Learning to install Plesk on a virtual server
Plesk installation methods are different and will include several methods, each of which will be described below:
Windows VPS
Install Plesk on Windows Server using the graphical user interface
Install Plesk with one click Fast and easy
Linux Server (Centos7)
Install Plesk using the console
Install Plesk with one click Fast and easy
Note: In order to check the services of Assam Server Virtual Server, you can have the necessary review via the following link: Purchase of Virtual Server ❗
Note: You can check the methods mentioned, via the following link to: Plesk installation methods in the virtual server; Have the necessary access and review ❗
Install WordPress on Plesk
In order to install WordPress, we can use the following two methods; It is recommended to use the first method, which is a more convenient method; In order to start the installation, by the method of the first part; Follow the steps below according to the videos to start the installation process:
Install WordPress using the Application Menu
Install WordPress through the database
The first method
::: Enter the Applications menu from the left column of Plesk
::: Select the Install option according to the video inserted in the plugin section called WordPress
::: Start automatic download after clicking Install
::: Re-select the Install option after downloading the WordPress plugin
::: Use the check box to select a domain / web space to install WordPress
::: Click on Change Login Setting after installation; To view the WordPress admin username / password or set new login details for the WordPress dashboard
::: Click on the Log in to Admin Dashboard option to enter the WordPress counter
The second method
To start the installation, you can use the following address: Yourwebsite.com:8880 or enter the IP server in your browser to access the Plesk login page; Enter your username and password to log in to your Plesk control panel account:
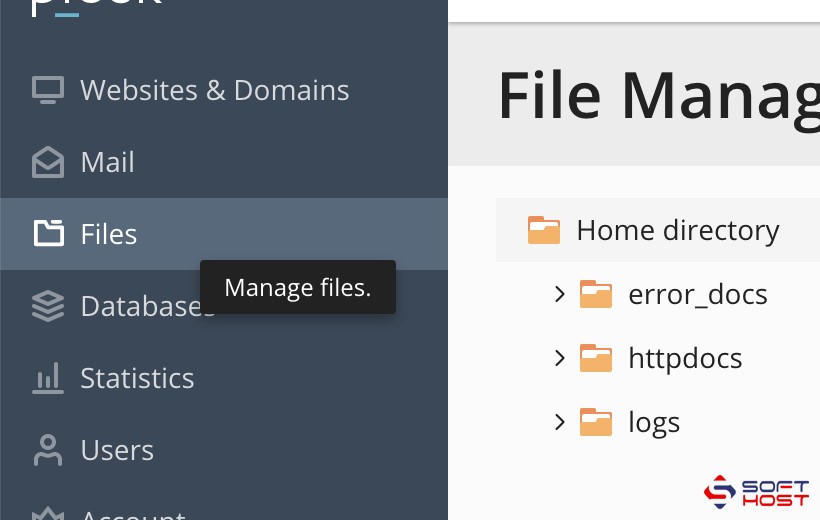
According to the photo below; Now select Files from the menu on the left and access your file manager:
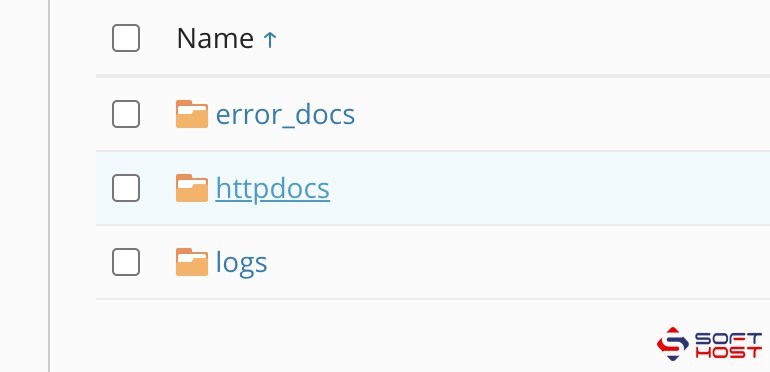
Open the httpdocs folder now; Note: If you see a list of your domains, first click on your domain and then open the httpdocs folder:
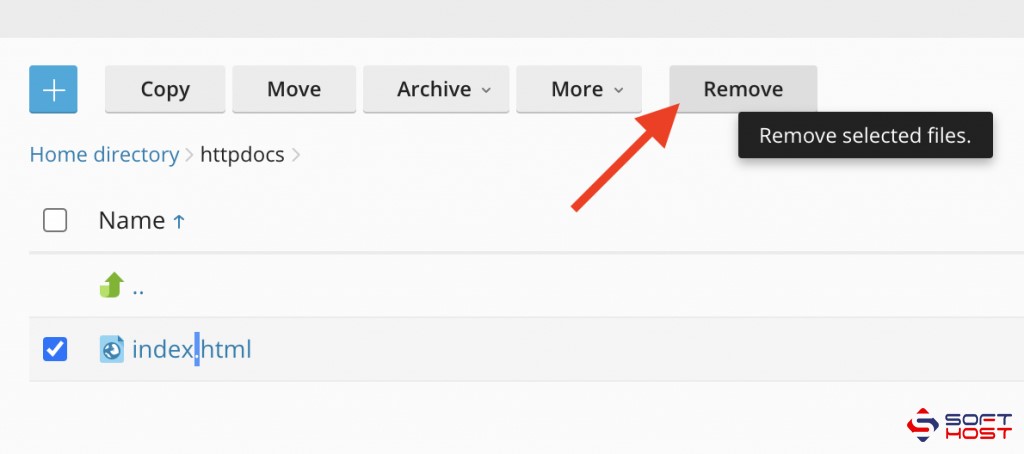
Now delete the index.html file so that we do not have any problems in the continuation of the installation process:
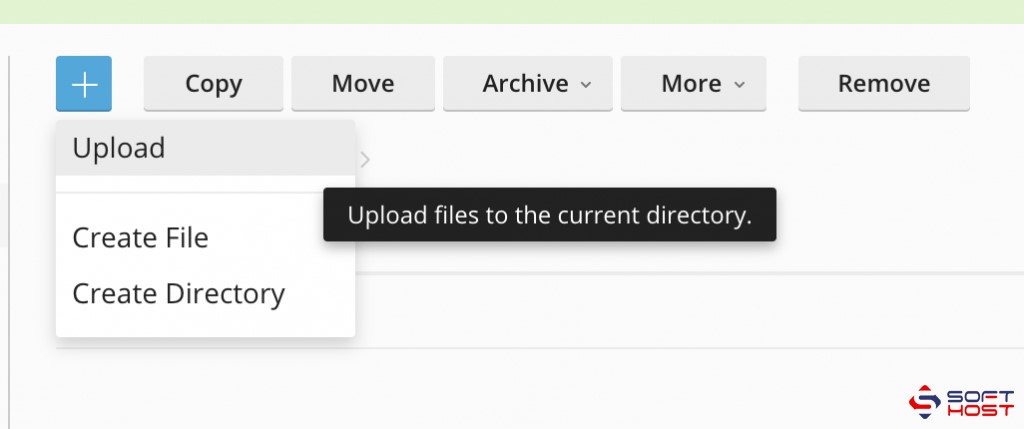
Click on Upload to be able to upload your desired files:
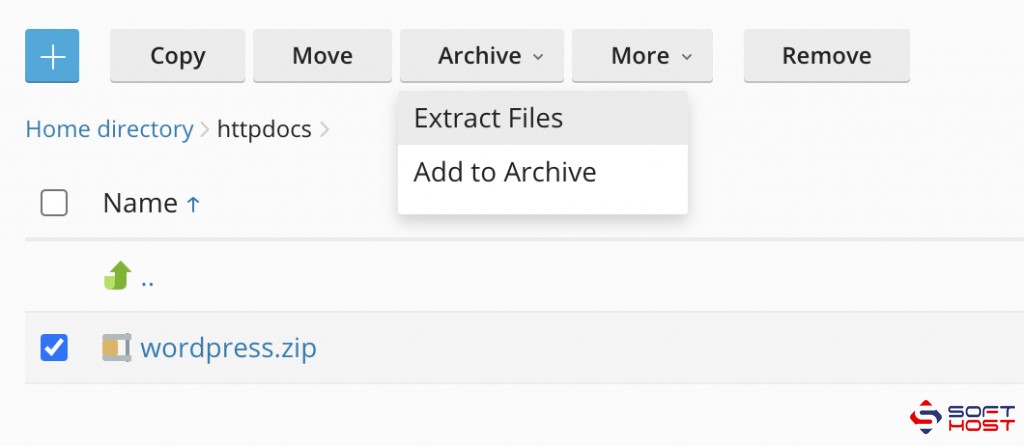
After uploading the WordPress file, refresh the page and access the WordPress zip file, select the file and click on the Archive option and then select the Extract option to Unzip the file:
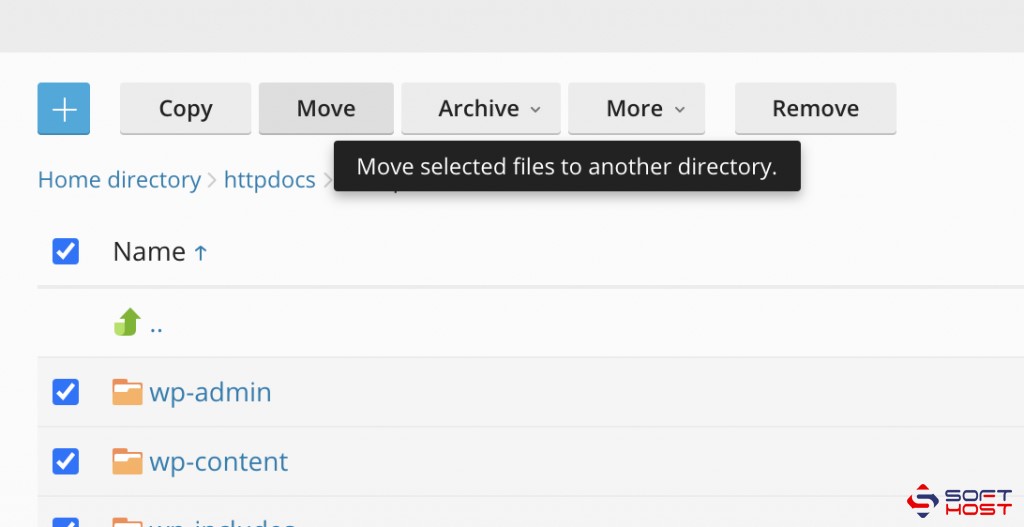
Then enter the wordpress folder and move the files in this folder to the previous folder, public_html:
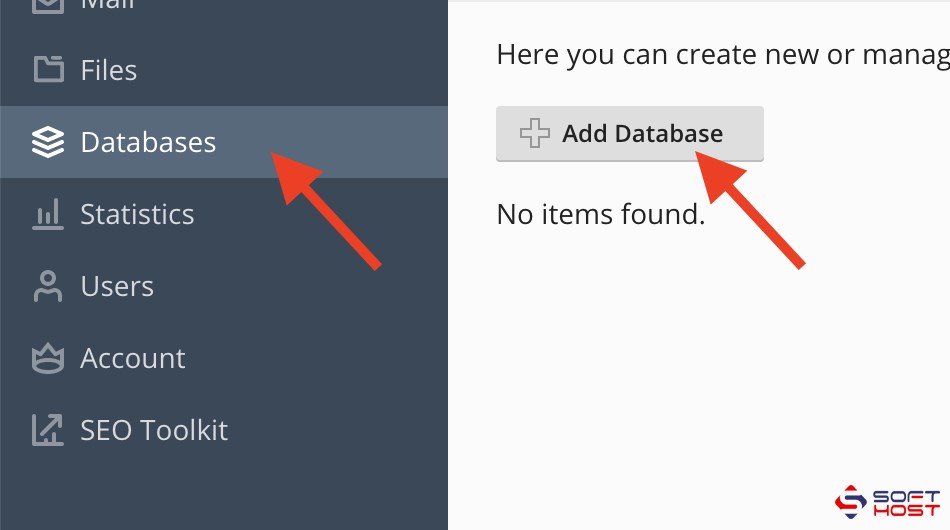
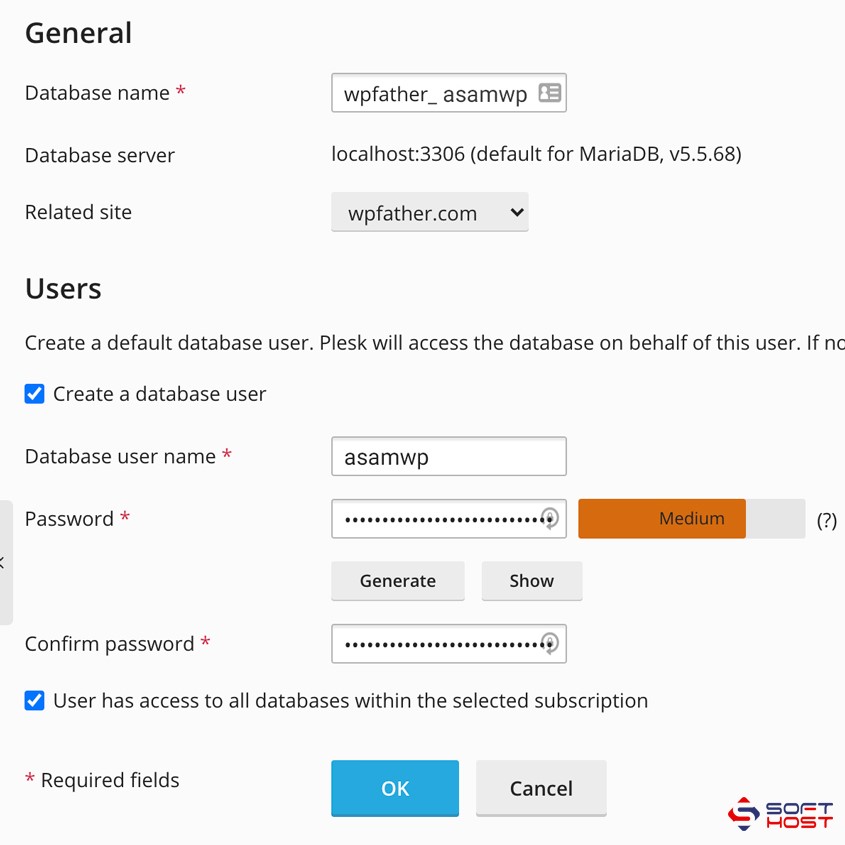
For the second part of the installation, we need to create a database and from the Databases menu, click on Add Database so that you can create a new database:
Now select your domain and then fill in the database creation form as shown below:
Note: Write down and keep the selected password
To continue the process of installing WordPress in Plesk, you need to enter your site address in the browser and enter the WordPress installer; In the next part of the first part, set the desired language on the option .