How to install Plesk on Windows Server
Plesk is a server and host management control panel that can be installed on Linux and Windows operating systems and is provided as a multi-platform by the manufacturer.
Due to the relatively high cost of Plesk control panel licenses compared to Linux operating system control panels such as Direct Admin and C Panel, Plesk is used more for virtual servers or dedicated servers running Windows. Developers of this control Panel acquired the first market share of host management panels on Windows servers. Plesk control panel is widely developed daily with the support of a powerful team, so that now all developers of shared hosting services for their Windows servers use this control panel.
Keep in mind that Plesk company They have also developed a version for Linux, but as mentioned, despite competitors such as C Panel or Direct Admin, few people use the Linux version of Plesk. Plesk was officially introduced by a Russian company in 2001 and now version 19 has been introduced by this company. In this section, we will try to comprehensively and fluently teach Plesk installation in Windows Server 2019 and other versions of Windows Server.
Plesk installation tutorial on Windows Server
First, log in to your virtual / dedicated server remote desktop and open the following address through the server browser:
https://installer-win.plesk.com/plesk-installer.exe
Download the installer file and then run:
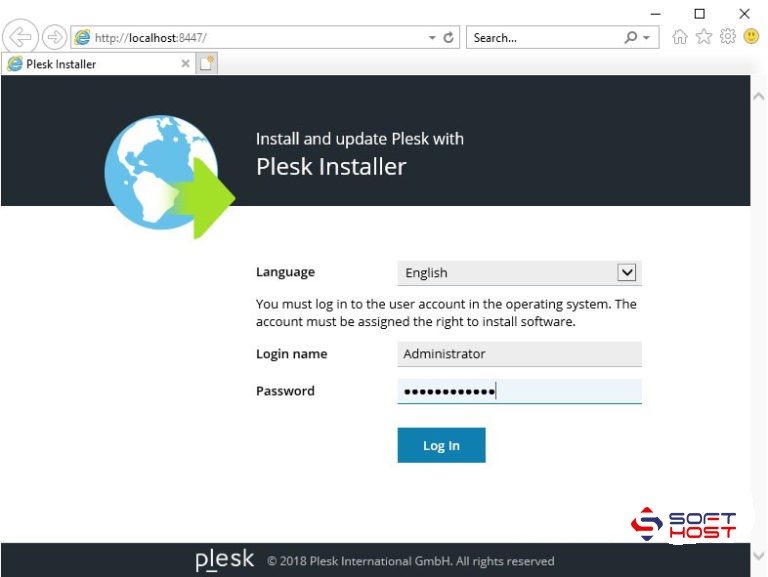
You will be asked to enter the server login password to display the following window:
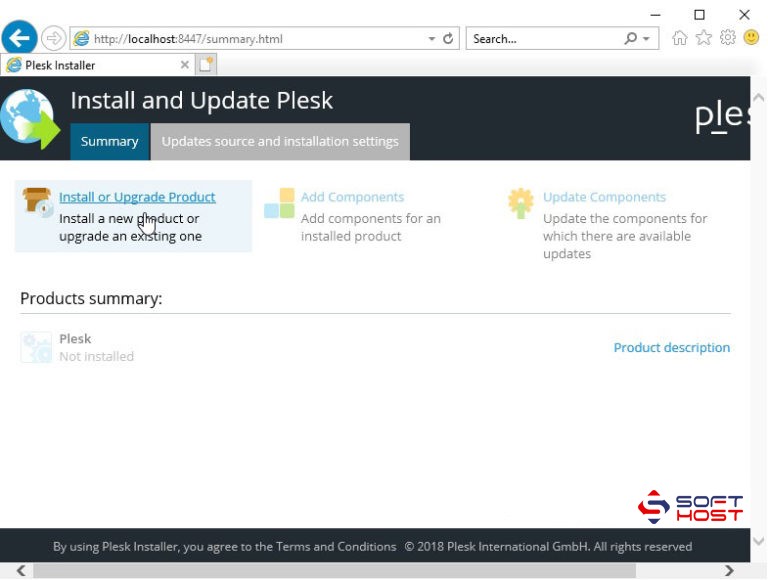
Click on Instal or Upgrade product to go to the Plesk version selection step.
In this step, click on the Plesk option and select the desired version.
The appropriate version for your server has been selected by the installer, so please do not change it.
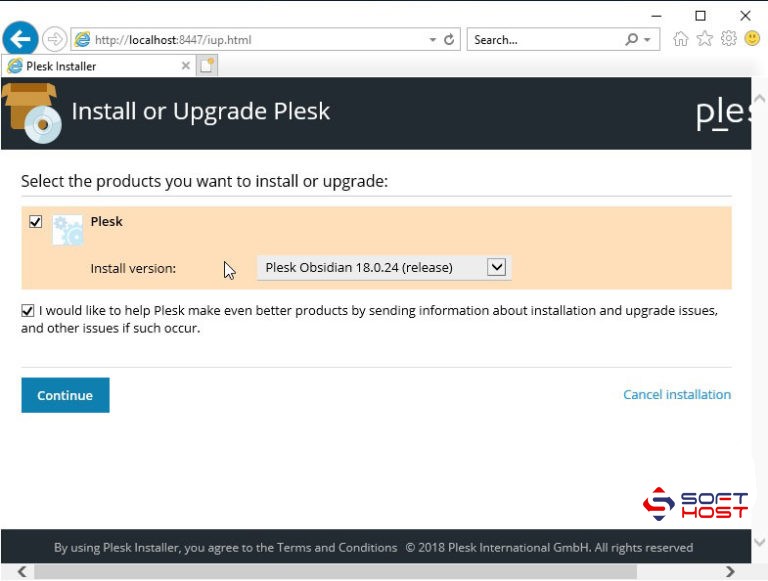
Finally, click on Continue. In this step, in the set where you want to install only a certain set of services, click the custom option in the installation type section, and if you want to install all packages, click the custom option.
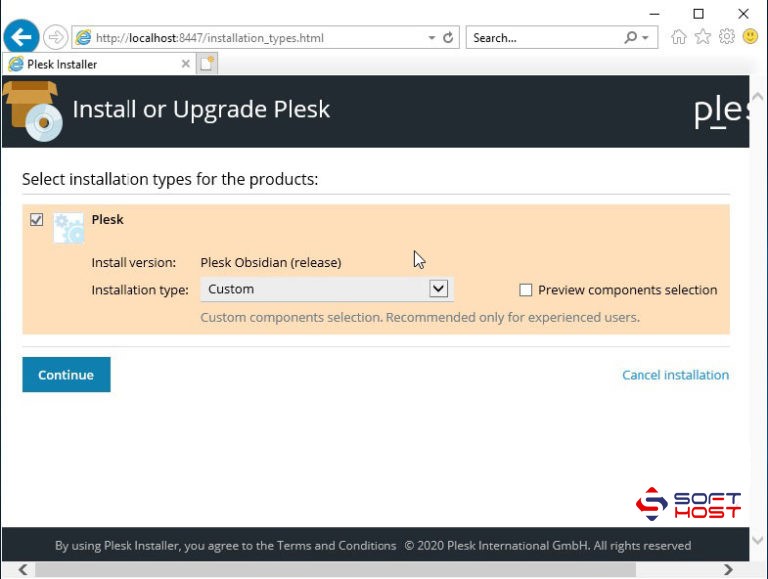
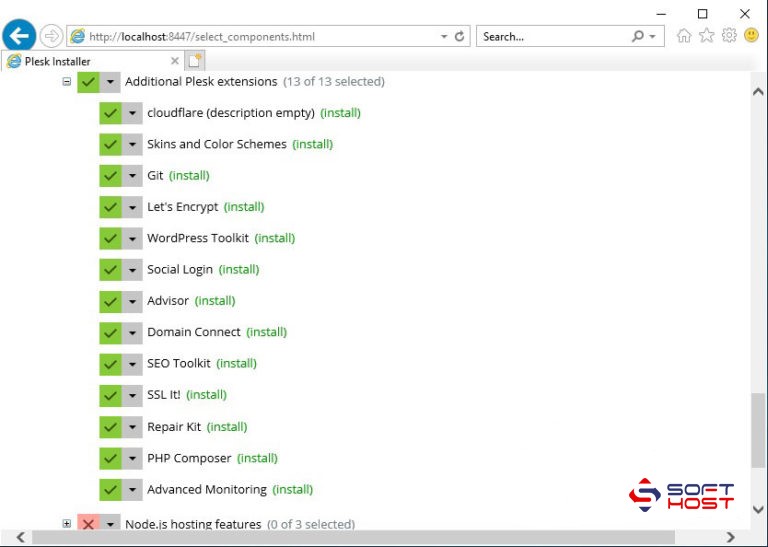
In this tutorial, we will select the Custom option to go to the Select Services page.
In this section, you can see all the services you need and install any that you need. Among the services that you can install include:
Different versions of MSSQL
Different versions of MySql
Install different versions of PHP and ASP
Install Casper Sky Antivirus
Install PHPMyadmin
Install the email control panel
Installing various extensions to develop work with Plesk, such as: LetsEncryot, Social Login, Seo Toolkit, etc.
And dozens of other services, each of which you can choose as needed.
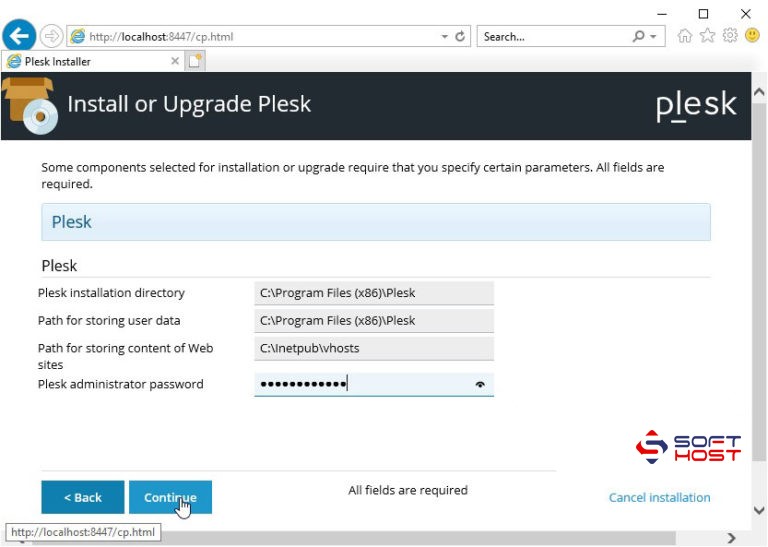
Finally, click Continue and in the Plesk Administrator Password field, select the Word to Plesk password and click Continue to start installing Plesk.
Plesk installation usually takes between 30 minutes and 90 minutes.
After installing Plesk, click on ok.
Then open the following address from inside the server:
https: // localhost: 8443
In this section, by entering the administrator username and password that you entered to enter Plesk, you will enter the Plesk admin environment.
Enter the required information and hit Enter Plesk to enter the Plesk management environment.